


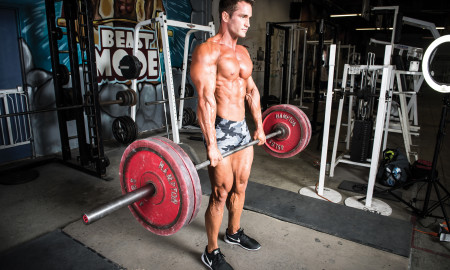

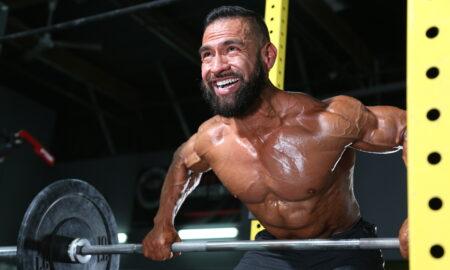
Most of you are very familiar with the barbell row. In gyms all across the country, you see guys and girls sloppily swinging a barbell to their abs as if they are doing some weird deadlift/row/clean combo. They are totally missing out on the benefits of what a strict row can offer.
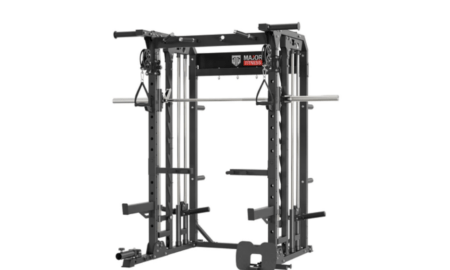
A safer and more effective version is the barbell rack row. In this exercise, you row inside the power rack from a low pin and squeeze the weight up instead of swinging it. With each rep, pause at the sternum with full contraction for a second, then slowly lower the bar to the rack and reset. This is a great movement to bring up a weak or underdeveloped upper, middle, and even lower back (remember, the lats runs from the arms to the hips.)
Swinging the bar not only cheats you out of the potential benefits but also increases the risk of herniated discs and a litany of other issues as well. As someone who has a serious history of back injury (broken sacrum, multiple endplate fractures from L3-down, as well as not having any disc in L4–L5 and L5–S1,) I can speak on this subject with authority.
Since the traditional barbell row already puts you in a compromising position (hinged at the waist), you don’t want to be swinging the bar, especially when you’re in flexion and under a load. Instead, you want to be braced, stiff, and get a strong contraction with a full range of motion to enjoy the full benefit from this often-bastardized exercise.
Certain movements should be performed as explosively as possible, but this row is not one of them. The squat, bench press, deadlift, clean, and snatch should be done with speed and power. For exercises like the rack barbell row, which actually supplement the moves above, you should use control and try to focus on working the muscle rather than the movement.
To help make the exercise more efficient, I have made a few changes to it that will not only help you get bigger and stronger, but will also develop your core strength and enhance your longevity, in and out of the gym.
1. As with the squat, bench, and dead, you want to get into the position known as the “lifter’s wedge” or the “gorilla lean.” I learned this from renowned spinal expert Dr. Stuart McGill. You want your head up, lats down, and your trunk braced even before taking on a load. This will be the key for you in any movement.
2. Use a grip depending on your weakness. If you want to attack your lats a little bit more, go wider. If you want to hit the middle or the meat of your back, then you’ll want your hands a little bit closer. This is personal preference. I prefer somewhere in the middle because that allows me to get the best squeeze.
3. Start from a good stretched position while in the lifter’s wedge and not lower. Set the pins low, but not too low. At the same time, you don’t want it so high that you have no range of motion either.
4. Before you initiate the row, push your stomach out as if you’re about to take a gut punch. Make sure to brace your core. I don’t care if it’s 45 pounds or 450 pounds, one wrong move while being too “casual” (as Dr. McGill calls it) can end your days in the weight room. You must treat every rep as if it’s the hardest lift you will ever try.
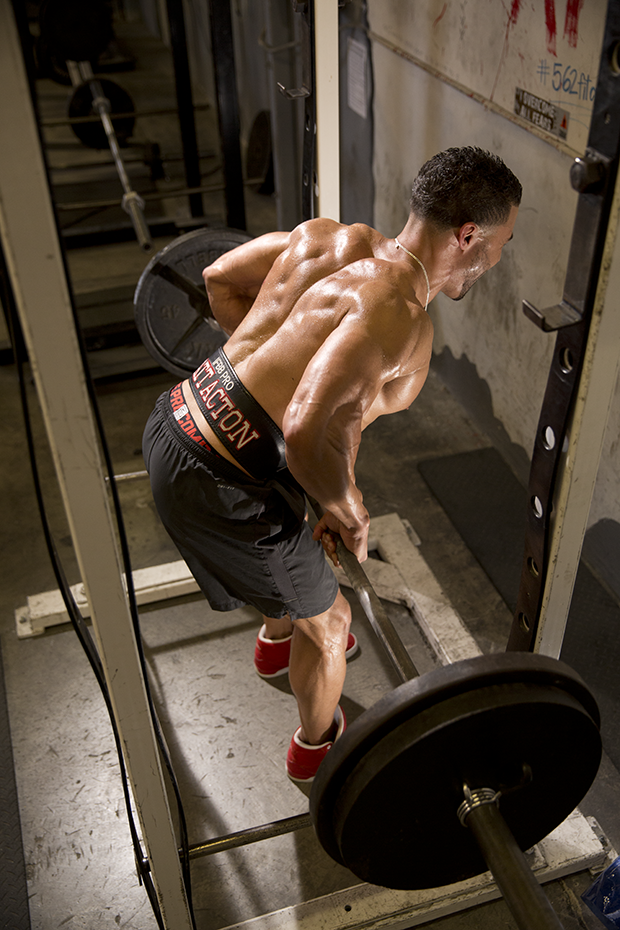
5. Once you break the bar from the pins—using your back muscles rather than momentum—pull it to your sternum and contract your muscles as hard as you can for a second or two. Pull your elbows back and squeeze the bar into you. Then release the squeeze and lower the bar back onto the pins.
6. Pause in the bottom and reset the grip. Each rep will begin from a dead stop. You will not be using momentum the way you would with a squat or bench press or overhead press. You will be working the muscles required for this movement and not just the movement itself.
7. Don’t swing the bar, even when the reps get hard. Too many people have the habit of doggedly finishing sets even after their form has completely fallen apart. You do not get a badge of honor by resorting to anything possible to finish a set. This is about working the muscle, not hitting the number of reps you have in your head.
8. Focus on the movement not the weight. Weight will come. To piggyback off of number seven, this is not a movement that you should use to gauge true strength. This is more of an isolation-compound exercise. In other words, it has much more benefit than a side lateral or a lat-pulldown, but it’s still an accessory lift. Treat it as such.
9. I suggest not wearing straps in an effort to build up your grip strength. People throw around the phrase “functional training” a lot these days, and I can’t think of anything more functional than one’s grip. Once again, this is personal preference.
10. Keep the reps under 10 on this movement. I actually prefer five to six reps, as that range allows me to handle good weight but with perfect form. Any more than 10 reps and I’ve found it’s too hard to keep my form pristine. The goal is for each rep to be a mirror image of the last. Maintaining the integrity of the lift is the top priority.
By Brian Carroll


You must be logged in to post a comment Login