
Build muscle and strength while staying pain-free and healthy in the process.
By Alexander Juan Antonio Cortes
Training the pectoralis major and minor, also known as the chest, is a common priority for both recreational and competitive lifters. When you’re young, it’s quite common for the bench press to be the predominant lift that is used for chest development. If you have advantageous biomechanics (big chest, short arms), bench pressing can seem incomparable for chest development.
As you age, though, there is an accumulation of wear and tear. Rotator-cuff injuries are the most common complaint among recreational lifters and competitive bodybuilders, and they are almost always incurred during pressing movements, specifically the bench press and incline press. You may feel invincible in your 20s, but once you get into the 30s, 40, 50s, with decades of lifting, you start to feel all those repetitions adding up.
As you age, your training approach to chest must become smarter. Your shoulder joints and pec tendons have only so many repetitions in them where they can be overloaded before something tears, frays, or snaps. And once injured, your ability to build any more muscle is highly compromised.
Rather than back off chest training completely, or be forced into stasis and believe that you’ve no future of muscles gains, your chest training can evolve. What follows is the Mountain Dog approach to chest training. This protocol is not only designed to prevent injury and have you train safely, but also sequenced in such a way to spur muscle growth, while not aggravating any preexisting or past injuries.
Rotator Stuff
Almost every man who has lifted has strained one or both of his shoulders from pressing. Why does this happen?
Go into the gym to train chest, and almost everyone does the same thing: They immediately head over to the bench press or incline press and start pressing right away. It seems like the right thing to do. Arnold loved to bench, the majority of magazines tell you to start off with flat or incline pressing, and there’s plenty of studies that say multi-joint compound movements are best for muscle growth. Are they all wrong? No, but they’re not quite right either.
When you go immediately into pressing without taking the time to pump the pecs with blood and invigorate the upper-back muscles for shoulder stability, you are creating the perfect setup for injury. Bench pressing is one of the most stressful movements you can do, and doing it first without any blood flow within the shoulder girdle is going to be aggravating to the muscles of the rotator cuff.
This may sound like I hate the bench press, but I don’t. Rather, it’s too often used as either an ego lift, or a staple exercise because everyone does it. But the results, and the state of your joints, don’t reflect the effort you put into it
So how do you adapt your training to deliver the muscle you want while staying pain-free and continuing to lift?
Smart Sequencing Equals Progress
Rather than persist with the same structure, let’s look at the exercises that we’ve previously been bashing: the bench press and the incline press. Instead of dropping them from the workout, I want you to change when you do them. For instance, let’s make barbell pressing the third or fourth movement instead of the first.
Sure, you may not feel as fresh and strong on the bench, but you’ll be thoroughly warmed up and your pecs and shoulders will be pumped with blood. You’ll also feel more coordinated from the pressing movements you have already done, and you’ll make greater muscle gains long term, by training your chest with compound movements in an already fatigued state.
You should know that just because you don’t feel as strong initially when following this protocol, it doesn’t mean that you are weaker or that you are hindering muscle gains. Quite the opposite. You are setting yourself up for greater future growth and improved joint health.
Work Your Angles
A typical chest workout is usually some pressing that’s done on a flat bench, some pressing done on a 45-degree incline, and then some variation of flye. While this seems like a good mix of stimulus, the reality is that everyone is a little bit different in regards to what angles best suit their individual structure.
How do you know if flat and a 45-degree incline are the best angles for you? Pretty simple. Do you feel your chest and upper chest working? Or do these angles feel like you’re working your front delts?
Minor incline angles, or decline angles, or even extra-high angles (60 degrees versus 45 degrees), can yield massive improvements in pec recruitment. Slight inclines and high inclines can often work much better for “middle” and “upper” chest, while slight decline angles can also emphasize lower-chest fibers far better than flat angles.
A commonly held belief is that you cannot truly “isolate” a muscle. Even on a machine like a pec deck, other muscles in the shoulder are still working. So while it’s technically true to say you can’t isolate, you can emphasize.
Hypertrophy is joint-angle specific, and muscle is “built” along the lines of mechanical stress that is imposed on the muscle. So angles matter for muscle development. If your chest development has been a struggle, and you’ve had recurrent shoulder issues, then changing the angle of the movements you do will likely make a dramatic difference, both from a muscular development aspect and training longevity as well. IM
Range Of Motion Is Relative
Form Nazis will tell you that every exercise must be full range of motion. That is wrong. In reality, range of motion (ROM) is relative to the resistance you’re using, the implement, and the intended effect of the exercise in question. Some exercises you want a complete ROM, while it can be very beneficial to cut the ROM short in others. Here are some shoulder-saving guidelines for ROM with various implements.
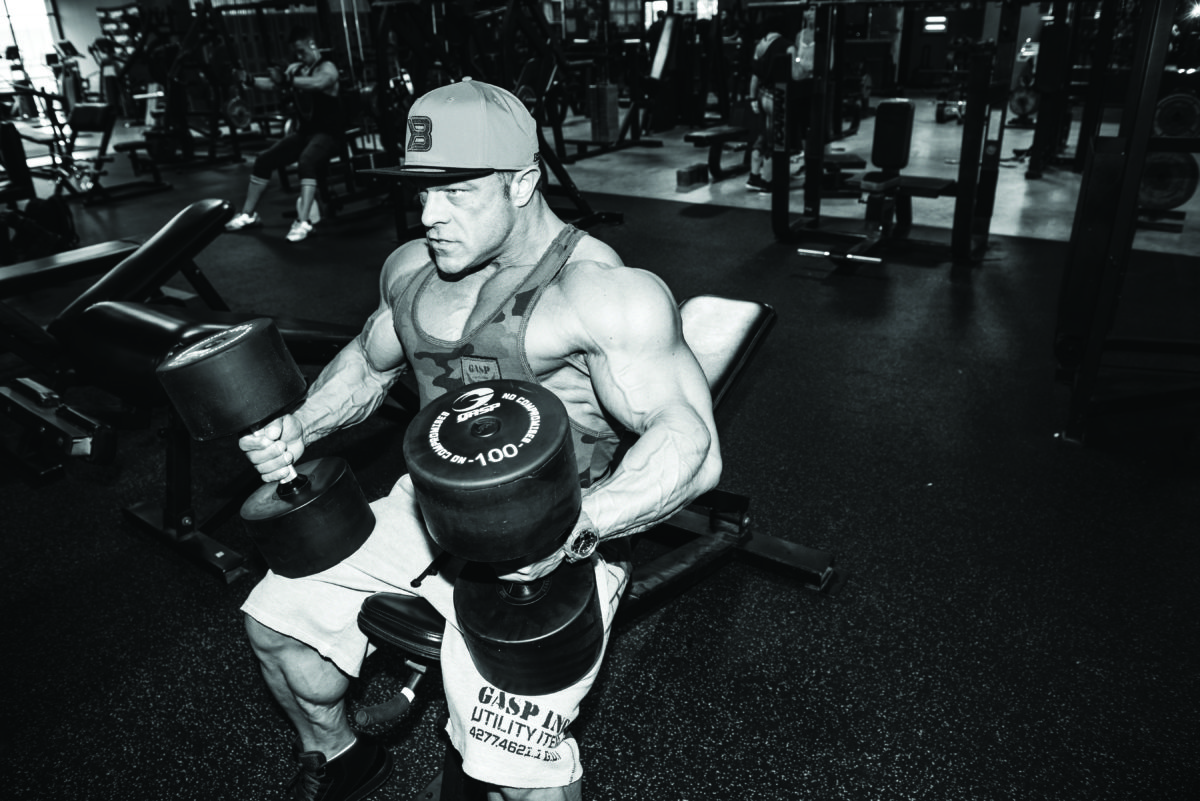
Dumbbells: For dumbbell movements, a complete range of motion should generally be utilized. What is most important with dumbbells is the setup of the arms. With some movement you may want your elbows flared, while in others your arm should be in tighter. Adjust your setup with whatever provides the most pec stimulation.
Barbells: Barbells can be much more stressful on the shoulder than dumbbells. If bringing the bar all the way to the chest strains the shoulder, then stop your ROM one to two inches above the chest. If the barbell feels good, however, then you can go all the way down, but pause each rep right above the chest. This will ensure you never use momentum to bounce out of the bottom and put the rotator cuff in a dangerous position.
Machines: Machines can vary with their ROMs. What is most important is finding and adjusting the machine to suit your biomechanics. Don’t be the guy who hops on the hammer press after someone else used it without bothering to adjust the seat height. Machine ROM can be full or partial, but always customize it as much as possible.
Cables: For cables movements, use a full range of motion. Cable exercises are completely customizable, so there is no excuse for cutting it short. The only caveat with cables is not to over-exaggerate the ROM past the ability of the muscle to contract. Otherwise, cables are phenomenal for targeted muscle tension and maintaining flexibility in your joints.
Bodyweight Movement: Much like cables, a bodyweight exercise like a push-up or dip can be individualized to your exact mechanics. Not only that, but the ROM for push-ups and dips is arguably the most “natural” training you can do for your pectorals. Do not cut ROM short on these movements unless you’re doing partial reps after having burned yourself out with full reps. An inability to complete a full ROM dip or push-up is indicative of poor joint health in the shoulders.
The Workout
Now that method and rationale has been made clear, here is how the protocol itself looks in practical workout form.
1. Pump and Activation: Moderate weight, moderate reps, 3 to 4 working sets
Goal: Warm up the joints and muscles with a complete ROM and sustained pump
Example: Pronated/Neutral-Grip Machine Chest Press
With this movement, you will first want to adjust the seat and seatback so that the lever arm is right in the line with lower chest. From there, select either a neutral or pronated group, and test what gives you better chest engagement. Begin with warm-up sets of 20, and work up to a harder set of 15. Add a little weight, and hit a set of 10. Add some more weight, and hit two very concentrated sets of eight. Reps should be smooth on every set, with a controlled concentric and controlled eccentric. Count two seconds down, two seconds up.
Sets: (3) 4
Reps: (Warm-up: 20, 20, 20) 15,10, 8, 8
2. Progressive Overload: Low to moderate reps, 3 to 4 working sets
Goal: Use heavier weight, progressively work up to top end sets that safely work both muscle and progress strength development
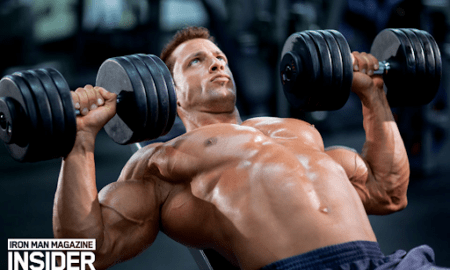
Example: Low Incline Dumbbell Press
First, experiment with the height of the incline. Anything from as little as five degrees to as much as 30 degrees can work. Find what angle is suitable for you and allows for a complete stretch of the pecs without overworking the front deltoid. Start with reps in the 15 range, and work up to a hard set of 10. From there, increase the weight for a set of six to eight reps based on how strong you are feeling. Aim to either add reps to that weight each week, or increase weight the next time.
Sets: 3
Reps: 15, 10, 6-8
3. Supramaximal Pump: Moderate to very high reps, 2 to 4 working sets
Goal: Create as much blood flow to the muscle as physiologically possible through higher reps and constant tension
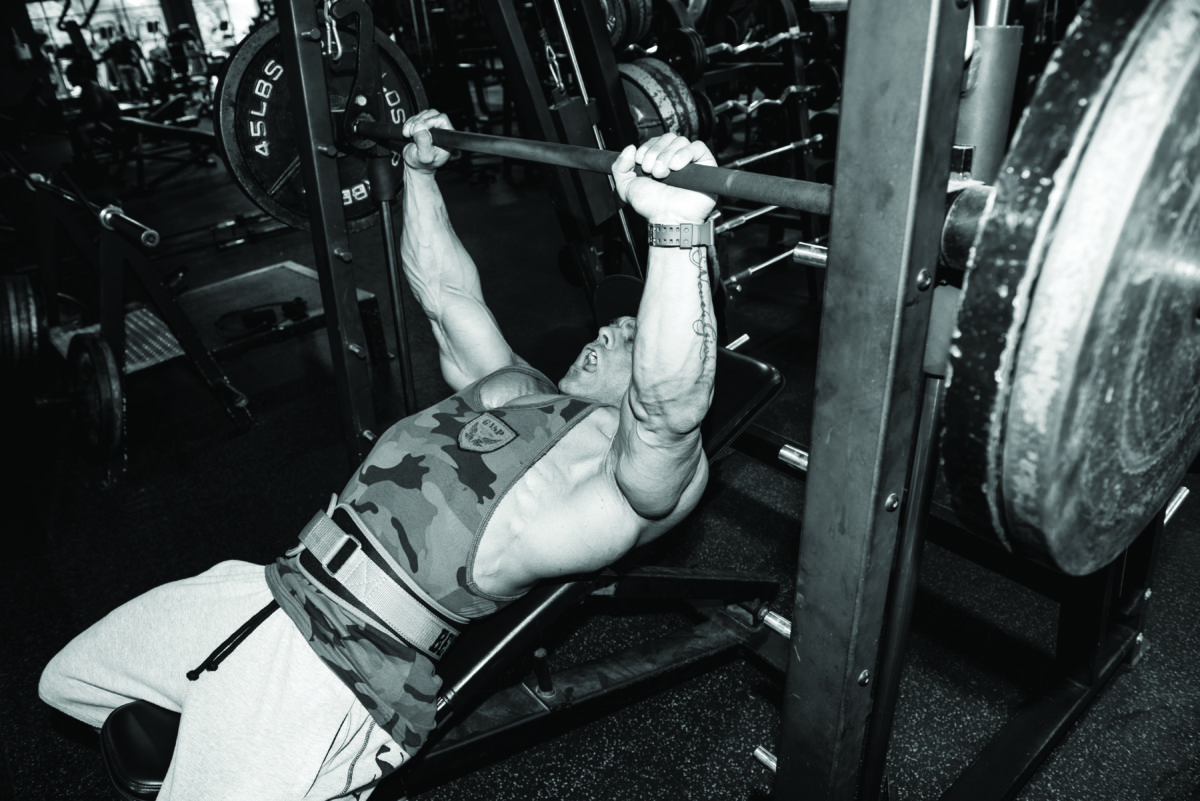
Example: Smith Machine Incline Press
On the Smith machine, set an incline anywhere from 25 to 60 degrees, at whatever angle engages your upper chest more. For the weight, start with a set of 30 reps as a warm-up and then add weight for the work sets. At this point, your pecs and shoulders should be thoroughly warmed up. With these reps, use a faster tempo and keep tension constant, stopping one to two inches short of the chest.
Sets: 3
Reps: 30, 15-25, 15-25
4. Contraction and Stretch: Moderate to high reps, 2 to 3 working sets
Goal: Work the pumped muscle through a super intense contraction while emphasizing a full stretch to promote muscular growth.
Example: Assisted Dip
For these, go right into the working sets. Offset your bodyweight just enough so that the resistance burns you out around the 8 to 10 rep mark. On each rep, slowly lower yourself, emphasizing the pec stretch on every single rep. Take a full five seconds on every descent.
Sets: 3
Reps: 8-10











You must be logged in to post a comment Login