


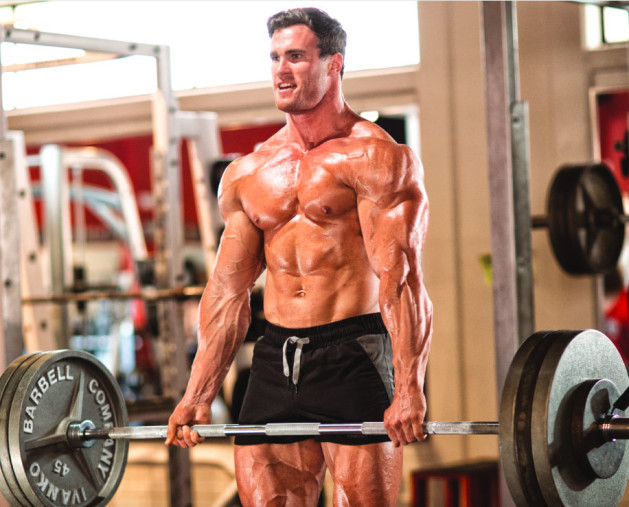
Want to get big and strong throughout your whole body? Do you want traps reaching toward your ears and a back that is literally 3D? Then you need to deadlift. In my experience, nothing will stimulate posterior chain growth, size and strength, power and sick back development like a proper deadlift. You won’t build traps, rhomboids, erectors, and lats that look like a cobra without consistent deadlift training.
Form is paramount with the deadlift. Proper technique is something that needs to be built and ingrained with the lightest weights. Top to bottom, lifting 45 pounds or 800 pounds, nothing changes. The deadlifting starts with the bar on the floor. Much like the squat, everything from your toes to your ears should be tight. The deadlift is the most mentally demanding of the big three lifts, so a proper mental state is very important.
Squeeze your rhomboids and keep your lats locked down and your head in the same position as during a squat. This is what I refer to as lifter’s wedge or the gorilla lean. You’re pulling the slack out of the bar in the bottom of the lift as you’re actively trying to bend the bar and engage your lats, setting your hips low enough to get leg drive but not too low that it pitches you forward. Every muscle is as tight as possible until you’re ready to pick up the weight. Once you’re ready, drive your heels through the floor while keeping the bar as close as possible to your body as you pull it up.
Many parts of the deadlift will vary from person to person with leverages or injury history influencing form and ability. Keep this in mind when setting up, especially with your hip height and with the distance away from the bar as you set your grip and prepare to pull. As always, try these tips and see what works for you and make it your own!
1. You want to have a death grip on the bar and should try to bend it with your lats as it sits in your hands. Most lifters use an over-under grip, meaning the strong hand is over and the weak hand is under to help balance the grip. As you bend the bar, you gain leverage. The goal is to maintain as neutral a spine as possible to not only keep leverages intact but your spine as well. Locking your back in with gigantic muscles like your lats will do a great job with this.
2. Once you’ve gone over your mental checklist—correct distance from the bar, bending the bar with your lats, chest up, head up, hips down, pulling the slack out of the bar—you’re ready to pull. This is when you stay patient but try to be as explosive as possible without yanking on the bar and turning it into a stiff-leg deadlift. Granted, some outliers pull better this way, but chances are you’re not one of them.
3. To initiate the start and break the bar from the floor, simply drive your heels through the ground and squeeze the bar up. By having the slack pulled out, the bar will pop off the floor with better speed and stay closer to your body. This is something that takes practice. Jerking the bar will destroy your back and kill your lockout power.
4. As the bar comes up the shin, start pulling back. You might see some lifters actually fall backward when using a lighter weight. This means they’re counterbalancing the bar to create leverage. This is a very good thing. If you get pulled forward on a heavy deadlift and go up on your toes, you’ll lose the leverage and increase your chance of injury and missing the lift. Never take a weight lightly.
5. Once the bar comes across the knee, make sure to squeeze your glutes as hard as you can to push your hips through to finish the lift. Be patient, not only off the floor but at lockout. The bar has to continue moving up and cannot go down and then back up to finish the lift. This is called hitching. Squeezing the glutes will help push the hips forward.
6. Do not pull heavy every week. For that matter, you don’t even need to deadlift every week. Like the squat and bench, heavy pulling has a way of taxing the body that many exercises will never touch. Use the 10/20/Life principles, and only pull heavy two out of three weeks. Having two weeks heavy and one light has a way of building positive momentum. Use the third week as a light week to recover and adjust form.
7. Don’t bounce the bar when doing multiple rep sets. Set the weight down and reset and then go. The touch-and-go method has its place (mainly for assistance work), but remember, the deadlift starts in the bottom, not at the top, so treat it as such. Just like you would train the squat or bench starting from the top, you train the deadlift from a complete stop.
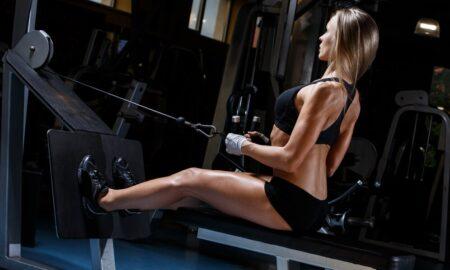
8. Use rows, chin-ups, and rack pulls to build your deadlift. After doing your main work for the day on the deadlift, use your assistance work to target your weak points to improve the lift. I’ve seen 100-pound increases in one’s deadlift just from getting the upper back stronger via rows and chin-ups. (I like the eight- to 12-rep range on chin-ups and rows.)
9. Don’t look down during the deadlift, as you will rob yourself of power and end up watching the bar instead of focusing on your cues. Also, never pull in front of a mirror or watch yourself squat, deadlift, or row, for that matter. These are things I learned the hard way.
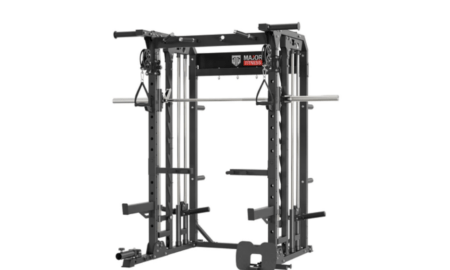
10. For those who can’t get into proper position with a neutral spine and use proper hip drive from the floor, I suggest that you try pulling with the weight sitting on blocks to shorten the range of motion and slowly ingrain good form. This is not all that uncommon due to injury history and mobility restrictions and or issues. Do not be discouraged if you struggle at first, but at the same time, don’t be afraid to move some heavy weight once you have mastered the proper form.
By Brian Carroll


You must be logged in to post a comment Login