


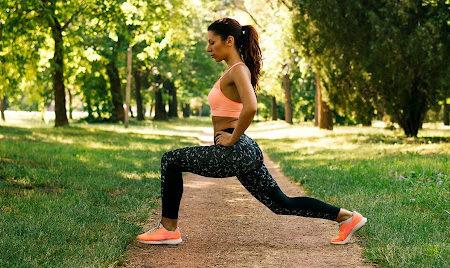
Ab Training
The power and glory of a ripped midsection can be yours with this user-friendly format.
By Jay Ashman
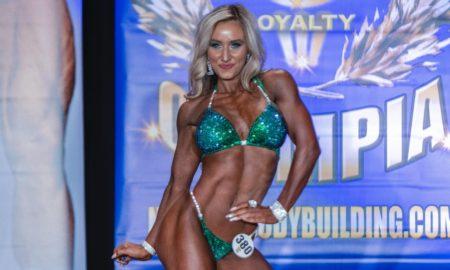
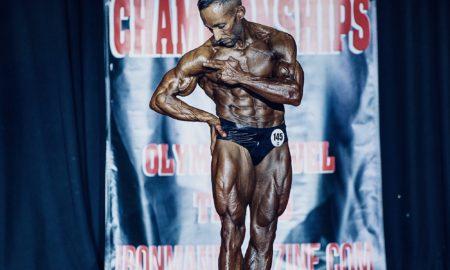
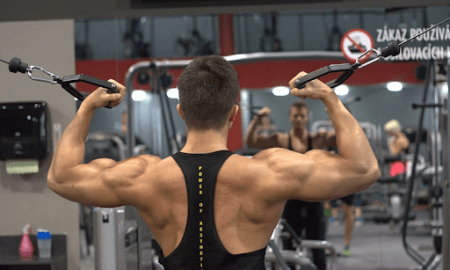
If you exist in any capacity on social networking in the fitness world, you absolutely cannot miss the endless barrage of ab pics from people who want to show their followers what they crafted from their hard work in the gym.
Let’s admit it right here and now: You want to know what it’s like to walk around feeling some ridges against your shirt. Every one of us who touches a weight wants that at one time or another. Some people make it their primary training goal, while others are lucky enough to be get it as a byproduct of their larger training and nutritional plan. For the rest of us, having visible abs is going to take work. (And quite frankly, that work is only partially done in the gym; the vast majority of it is, as the cliché goes, “built in the kitchen.”)
Aside from having people look at your midsection with wanton envy, the abs play a prominent role in the development of strength and expressing it. When you attempt a heavy lift of any sort, you brace your abs. If you cannot brace them hard enough because they are weaker than they should be, you cannot stay as tight as you need to and take the real risk of failing the lift and risking injury. Another side effect of having a strong midsection is lower-back health. (The pre-workout abs training I prescribe here is designed to specifically develop your core in a way that protects your lower back.)
How do you efficiently train abs for maximal development and strength? There are endless bros who will preach a variety of methods: hundreds of crunches every day, train them twice a week like any other muscle, or never train them at all because you get enough work through them by just lifting heavy. To separate the bro from the go, I recommend a different, more realistic take on ab training. This protocol gives you what you need to have both a strong midsection and an aesthetically pleasing one, and it delivers an effective but realistic volume of work in a user-friendly format. Just follow these three rules:
- Start Every Training Session With This Warm-Up: The McGill Big 3 is a specific warm-up developed by spinal specialist Dr. Stuart McGill and is a part of the protocol of 10/20/Life as written by powerlifting champion Brian Carroll. It is designed to tighten the midsection to allow for safer lifting because it will protect your lower back. The exercises are simple: the McGill sit-up, the bird dog, and the rolling planks. All three takes about 10 minutes to complete, and they will do wonders in prepping your midsection and lower back for a hard training day.
- Forget Dedicated Midsection Work After Training: I estimate that more than half the time a guy tells himself he is going to do abs after he lifts, he forgets, is too time-crunched, or just plain gets lazy and rationalizes his way out of it. To circumvent all excuses, I suggest performing work sets of a single abdominal exercise before you lift. The point is to keep it short and simple so it doesn’t cut into the time or intensity of your resistance training, which is the priority. You are going to rotate between hanging leg raises, decline sit-ups, and dumbbell holds using a variety of loads, durations, and ranges of motion.
This is a simple way to ensure you are working the abs enough without overworking them to the point where you dread doing them. These exercises reinforce stabilization as well as flexion to give you a well-rounded and extremely effective hit to your midsection that will cut through all the bull you read everywhere else. It just simply works.
- End Your Workout The Same Way: After a hardcore lifting session, you’re tired, you’re hungry, and you’re probably late for either getting to work or getting home. End each session with a single exercise: stir the pots on a stability ball. Stir the pots are not only a great ab exercise, but finishing off each session with them further strengthens the lower back.
Ab training isn’t just about looking in the mirror, lifting up your shirt, and showing off for likes and shares. It’s about functionality, performance, and protecting the spine from injury. Endless crunches and sit-ups combined with a sound nutritional plan may give you a six-pack, but will it be enough to keep your back healthy, support you during heavy lifts, all while being easy to look at? Probably not. The accumulated work in this program, and the fact that it plays double-duty as a warm-up and prep tool, spares you the boring grind of a dedicated 30-minute ab workout but delivers results you will be able to see and feel.
Every Day Ab Training
Strength coach Jay Ashman has developed this ab-training strategy that spreads an effective cumulative dose of abdominal stimulus through three separate but approachable sections. Setting up this daily ab work is simple, and it also prepares the body for the entire workout. Give this program a try for 12 weeks and you will see and feel a difference in your training and your core.
(Warm-Up) – ART NOTE: Can we turn these parentheticals into brackets that encapsulate the corresponding exercises (which are color-coded)?
McGill Sit-Up 3 6-10
Bird Dog 3 6-10 (each side)
Rolling Plank 3 30-60 seconds
(Pre-Workout Set — Choose One)
Hanging Leg Raise 3-5 10-20
or
Decline Sit-Up 3-5 10-20
or
Single-Arm Dumbbell Hold 3-5 30-60 seconds (each side)
—Main Body Part Training —
(Post-Workout Finisher)
Stir The Pot 3 10-20 or 30-60 seconds
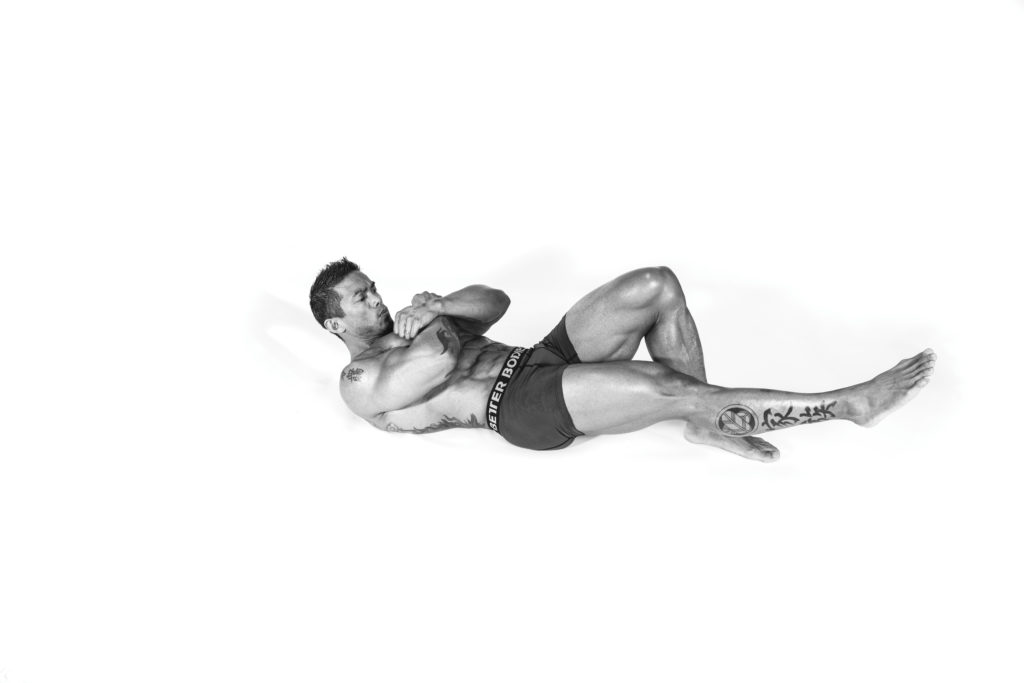
McGill Sit-Up: Lie on the floor, one leg straight out in front of you with the other leg bent at the knee with your foot flat on the floor. Place your hands across your chest, and crunch slightly up while attempting to push your abs into your lower back. Tuck your chin a bit and focus on core tightness. With each crunch, hold the top position for three seconds before you return to the ground.
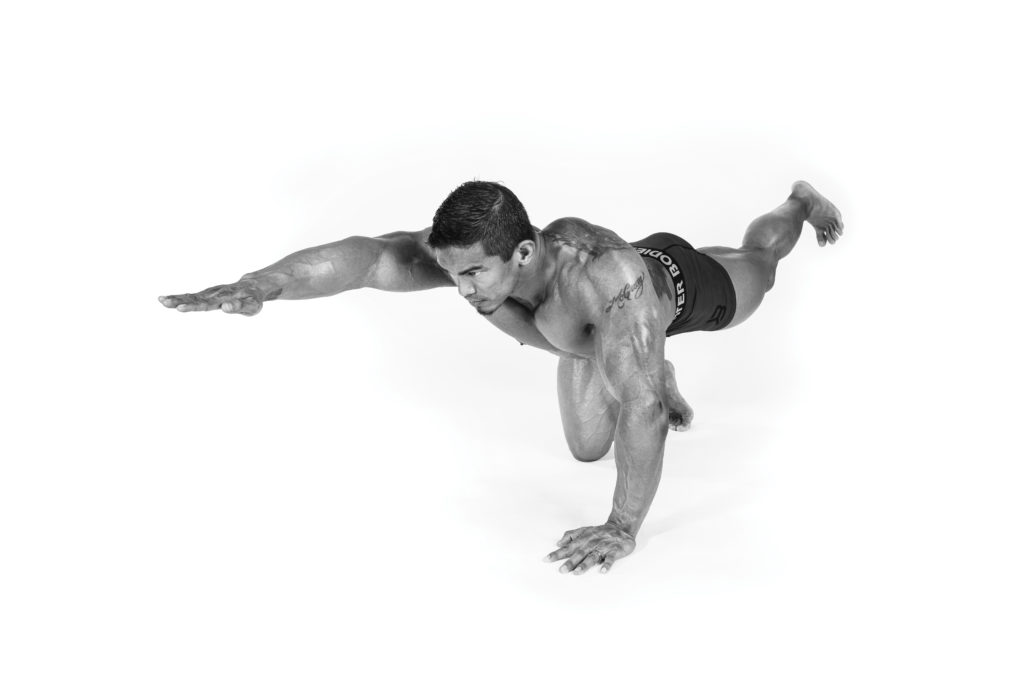
Bird Dog: Begin on all fours with your palms on the ground, wrist under your shoulders and knees under your hips. Take your right leg and left arm off the ground, extend the leg out behind while flexing your glutes and keeping your midsection tight. At the same time, reach your left arm straight out in front of you reminiscent of a bird dog–type pose. The active arm and leg should be parallel to the ground. Hold this for five to seven seconds, then lower to the ground. After performing one side for the prescribed amount of reps, switch arms and legs, and repeat.
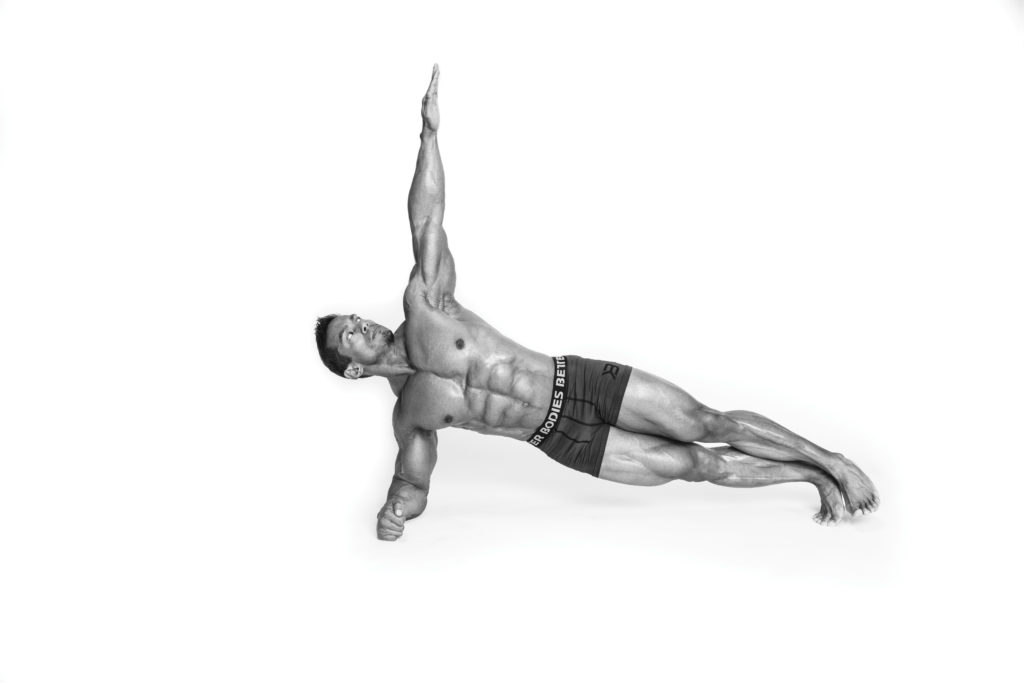
Rolling Plank: Start in a neutral plank position with your weight on your forearms and toes. Roll to one side so your shoulders are perpendicular to the floor, and plank for two to three seconds. Slowly roll to the other side and hold. One side-to-side counts as one rep. You can change up the place and roll side to side more quickly, with a shorter duration side plank, and then intermittently go slower and hold a longer plank. The important thing is making sure that your hips are off the ground and fully bridged.
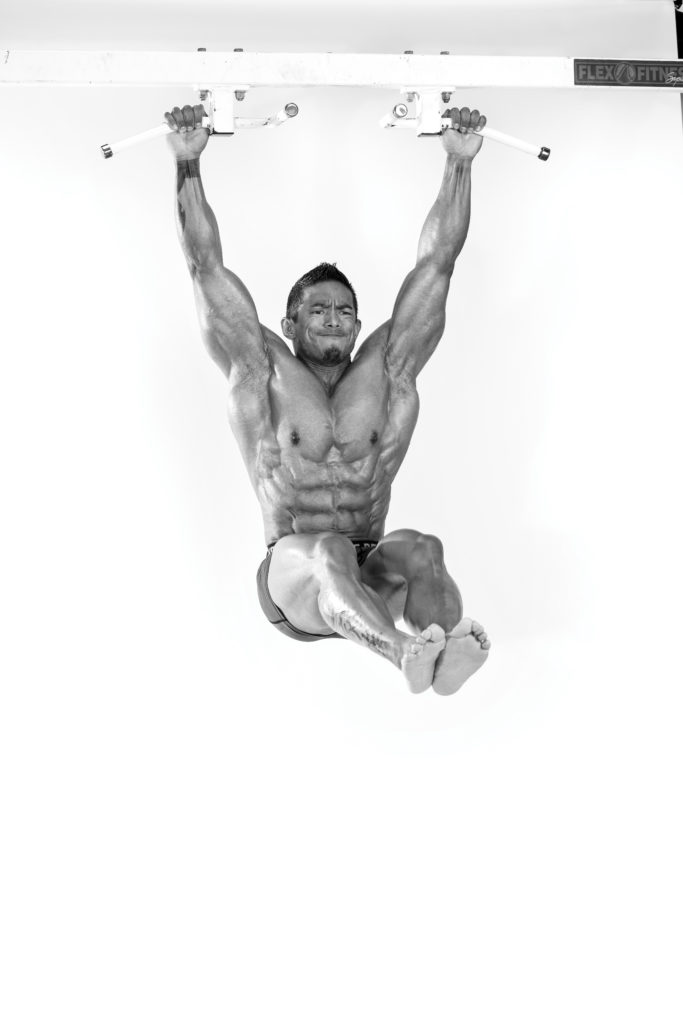
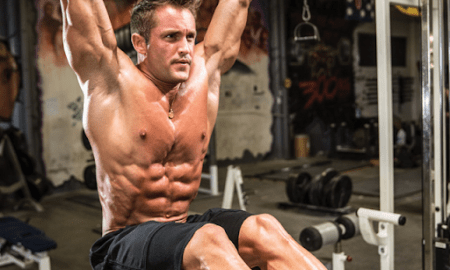
Hanging Leg Raise: Grasp a pull-up bar with an overhand grip, your hands slightly wider than shoulder width. Draw your belly button in, and bring your legs up until your thighs come above parallel to the floor. Slowly return to the starting position. You can perform these with straight legs (which is the more challenging variation) or with bent knees. If you have a hard time hanging from the bar, an appropriate substitute is a Roman chair leg raise.
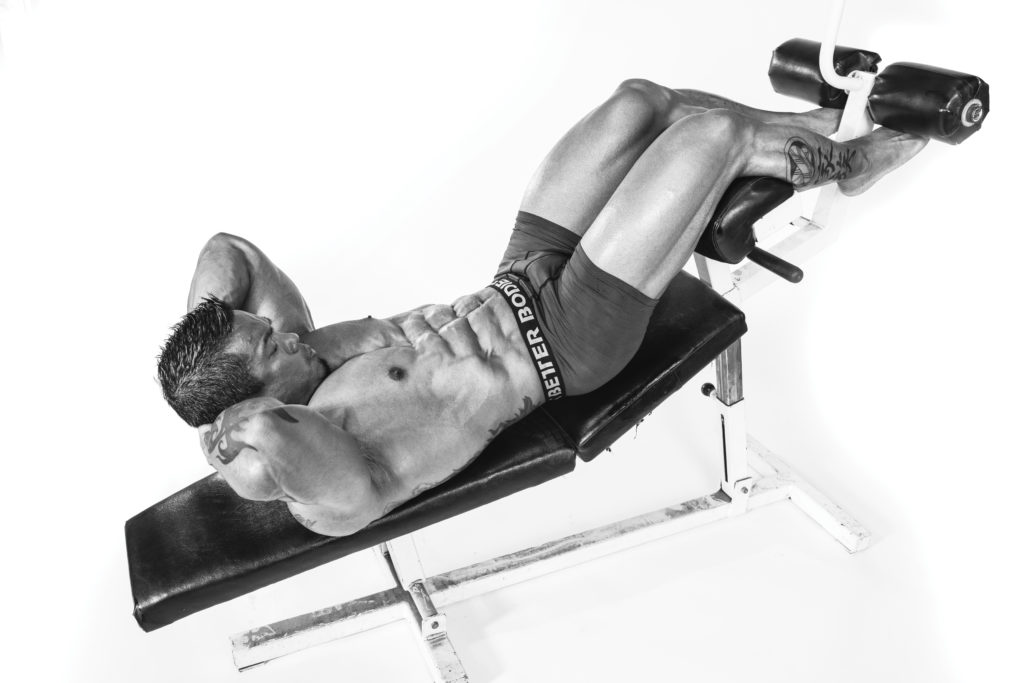
Decline Sit-Up: Place your feet in the rungs of the bench and contract your abdominal muscles until your back is straight up. Slowly return to the start position. If you are new to these, you can adjust the decline bench so it’s at a more moderate angle to accommodate your ability. You may do these loaded or unloaded. Hold a plate or dumbbell across your chest if you choose to do these with weight.
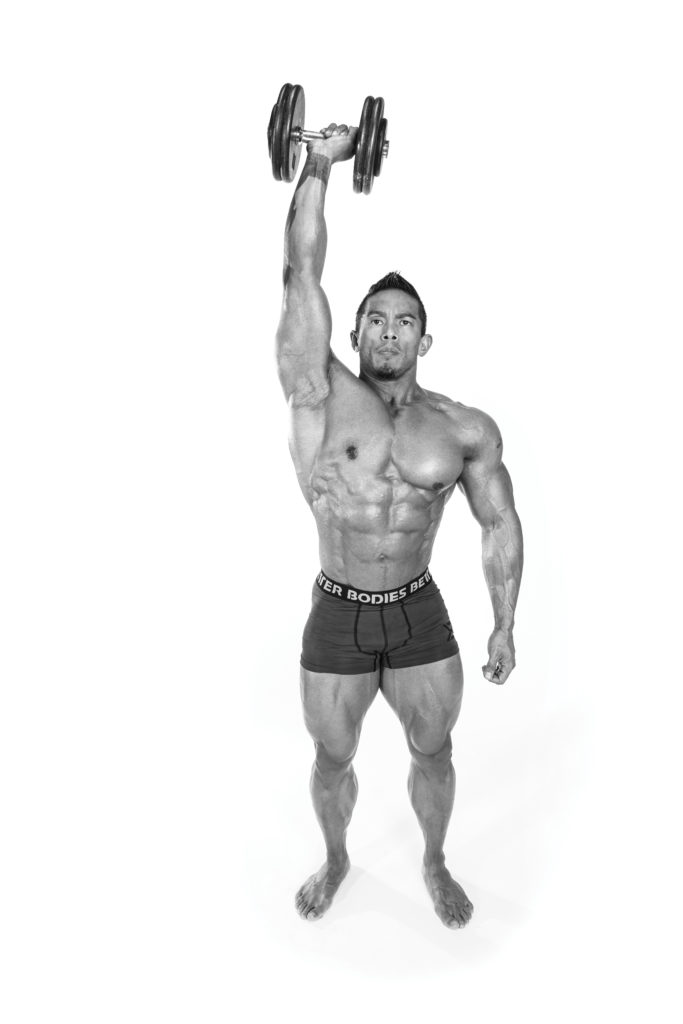
Single-Arm Dumbbell Hold: Pick up a heavy dumbbell with one hand. (You may use straps, as the stress is meant to be felt in your obliques and not in your grip.) Stand up tall and straight while using your obliques to hold yourself up. There is no a need to do a side crunch with this. The act of stabilizing with a heavy weight in this stance is enough to create stimulus. The beauty of this is that you can pick up a heavier dumbbell as you progress, hold it for longer, walk with it, or lose the straps to add additional stimulus if you choose. Once you work one side, switch hands and work the other.
Stir The Pot: From a kneeling position, place your forearms on an exercise ball in front of you. Come off your knees and onto the balls of your feet and into a plank position with your body forming a straight line from your head to your heels. Your abs should be braced, glutes engaged, and your elbows under your shoulders. Slowly move your forearms forward and then into a clockwise circular motion for the prescribed amount of time. Staying tight is a priority here or you will fall off the ball. This can be tracked with either reps or by time. Reverse the direction of the circle for the next set. IM


You must be logged in to post a comment Login